Food

Mom’s Deli

It was one of those kind of days when that special craving came on. In fact, it was Mother’s Day and I knew I wanted a Mom’s Special from Mom’s Deli for lunch. Many of you know exactly what I’m talking about. Little did I know the line would be out the door and down the street. Every time I go on the weekends there is a line (which is always a good sign), but never has it been so long. I guess the craving on Mother’s Day wasn’t well thought out, but I waited. As always, it was so good and satisfying. It’s one of those places that brings me back in time since I grew up in the neighborhood. As a native south city girl, this place is a favorite.

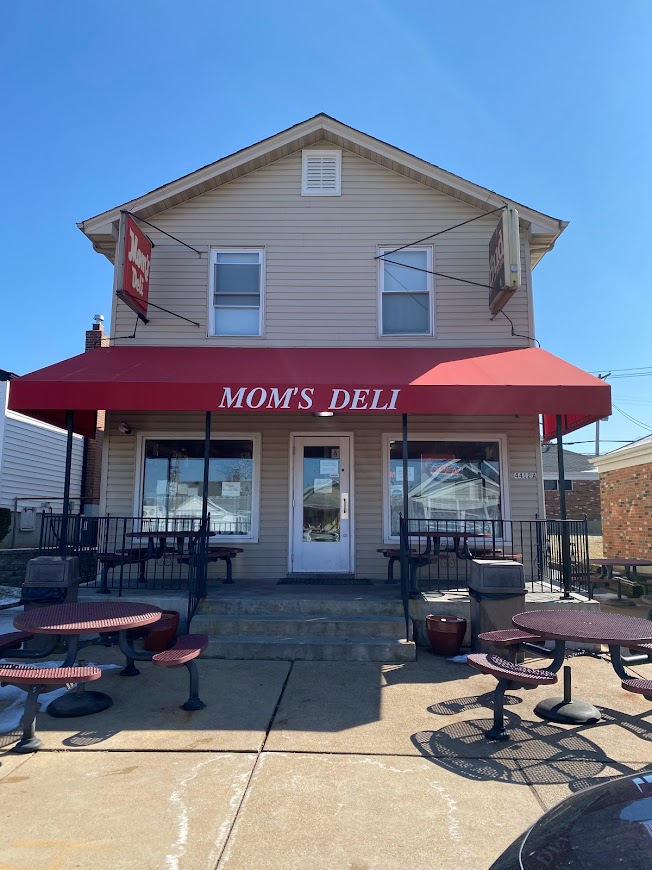
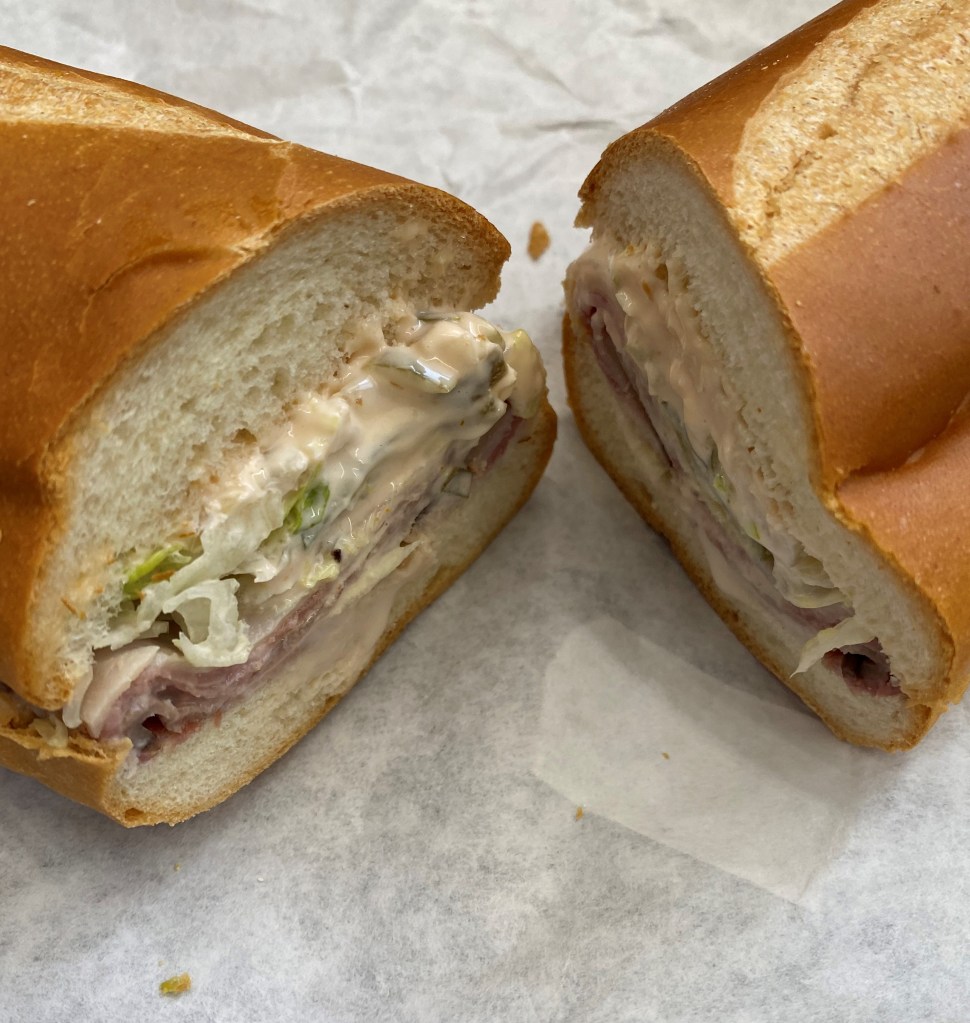
Mom’s Deli is a staple in the city. I grew up right down the street from the owners, the Vago family. In fact, I went to grade school and high school with Denise Vago who is now the current owner and sole proprietor who took it over after her Mom passed. Founded back in 1977 by Denise’s parents, Mom’s Deli is your traditional deli with good ole fashioned sandwiches made to order with fresh bread from The Hill. There’s also pasta, sides, and chips available. You can even pick up some beer or drinks to go as well. And, they’re always slammed with catering orders for all your party needs. All of the sandwiches at Mom’s are great, but they are famous for their Mom’s Special. You can get it hot or cold, but I highly recommend hot with gravy. What makes the Mom’s Special famous and different is the home made 1000 Island dressing and the munchee cheese. Let me warn you it’s messy so you will need a lot of napkins, but it’s so worth it. My mouth is watering just thinking about it. Although, I don’t live in the city anymore I’m not far so when that craving hits, it’s a quick and easy drive. No matter where you are in St. Louis, it’s worth the drive to get a famous Mom’s Special or any one of their sandwiches.

Mom’s Special

Mom’s Deli – 4412 Jamieson Ave., St. Louis, MO 63109

314-644-1198

Food

Chicken Spinach Tomato Bake

This Chicken Spinach Tomato Bake has become a favorite in this house and it’s healthy. Everyone’s looking for that quick and healthy chicken dish. This is it! I’ve done a few different variations with the tomatoes. Originally I was using Rotel tomatoes, but recently I tried sundried tomatoes. Both give it a little different flavor. One reason I love this Chicken Spinach Tomato Bake is because you can change it up each time to meet the needs of what you have at home. You don’t have to use mozzarella cheese each time. I’ve used shredded Mexican style cheese because I always have that in bulk in my fridge. This is a great recipe with a lot of flexibility and it tastes so good.

Chicken Spinach Tomato Bake

  • Servings: 5-6
  • Difficulty: Easy
  • Print

Ingredients:

  • 5-6 Large Chicken Breasts
  • 16-24 ounces of Fresh Spinach
  • 1 and 1/4th cup of Chicken Broth
  • 1 can of Rotel or a jar of Sundried Tomatoes
  • Creole or Spicy seasoning
  • Salt and Pepper to taste
  • Shredded Mozzarella cheese and Parmesan cheese to your liking
  • 4-5 Green Onions chopped (optional)

Directions:

  1. Preheat the oven to 350 degrees. Lightly spray 9 by 13 dish and any other dishes being used. For 5-6 large chicken breasts I use two a 9 by 13 and 11 by 14 dish.
  2. Next, place the chicken breasts on a cutting board between sheets of plastic wrap and pound the chicken with a flat mullet until all meat is even. This is a key step.
  3. Sprinkle the chicken with Creole seasoning, salt, and pepper.
  4. Put the fresh spinach is prepared dishes. Salt and pepper the spinach.
  5. Add the chicken broth evenly to each dish.
  6. Arrange the chicken over the spinach and add tomatoes on top along with green onions.
  7. Cover the baking dishes with foil and bake for 20 minutes.
  8. Uncover and continue baking for 10-15 minutes or until chicken is cooked to an internal temperature of 165.
  9. Top the chicken with cheese and cook for another 5 minutes. Remove from oven and serve with your favorite sides.
Food

Rack of Pork

Happy New Year! We’re back at it with a holiday favorite, the rack of pork which is a pork loin with the bone in. I never had a rack of pork until later in life. This cut of meat is so succulent and flavorful. We love it when Fall hits and Costco starts selling this meat which is typically around Thanksgiving. Preparing the rack of pork is super easy. The challenging part is making sure it’s cooked to perfection while in the oven. All it takes is a close eye and a little TLC.

We celebrated the New Year with the rack of pork. The second time this holiday season. Cheers to the New Year!

Rack of Pork

  • Difficulty: Medium
  • Print

Ingredients:

  • 5-6 lbs. Rack of Pork – Pork Loin Bone In
  • 1 Tablespoon of Olive Oil or enough to rub the whole rack
  • Rub pork with minced garlic – don’t hold back
  • 1 1/2 Tablespoon of Rosemary
  • Season with Salt and Pepper to your liking

Directions:

  1. Preheat the oven to 450 degrees and prepare a broiler pan lined with foil.
  2. Place the rack of pork on the pan and rub with olive oil.
  3. Season with rosemary, salt, and pepper.
  4. Place the pork in the oven and cook in 450 degree oven for 15 minutes and then reduce to 350 degrees for 70-90 minutes or until an internal temperature of 145/150 in the thickest cut of meat. Halfway through cooking the pork, flip the rack to ensure proper cooking and browning on all sides. At some point, you may have to foil the bone part of the rack so not to brown too much.
  5. Remove from oven and let sit for 5 minutes before cutting. Eat and enjoy with your favorite sides.

Family, Food

Tuna Casserole


Tuna Casserole Pic

In our family, Fridays in Lent means no MEAT!  That is not always an easy sacrifice, however it does allow us to try out some new recipes or in this case….not so new recipes – Tuna Casserole.

Like most kids, I never liked tuna casserole when I was young.  When my mom made it for dinner, I ate a few bites, played with it a bit, but filled up on bread. Now, as an adult, I really enjoy tuna casserole especially the one I grew up eating when I was a child.  If you’ve never liked tuna casserole, try this one out.  It’s a keeper!

The secret to this recipe is the French fried onion rings!

Ingredients:

  • 2-3 Cans of White Tuna (broken up)
  • 1/2 box of Rotini Noodles (cooked)
  • 1 Can of Cream of Mushroom Soup
  • 1 Bag of Frozen Broccoli Florets (use 3/4 of bag)
  • I Medium Onion (chopped)
  • 1/2 Cup of Butter or Margarine
  • 3/4 Cup of Milk
  • 1 Can of French’s Fried Onion Rings
  • 1/2 Tablespoon of Italian Seasoning
  • Sea Salt (because we love it)
  • Pepper to taste

Directions:

  1. Preheat oven to 350 degrees. Saute the onion in butter over medium heat until tender.  Meanwhile, cook pasta according to package directions and during the last 4 minutes of cook time, add the broccoli.
  2. Add the cream of mushroom soup to the onions along with the milk.  Slowly stir together while adding salt, pepper, and the Italian seasonings. Continue to simmer on low for a while.
  3. In a large corning ware bowl, add the pasta and broccoli mixture.  Break up tuna and add to the pasta.  Pour the onion soup mixture into the bowl and gently mix all together.
  4. Cover and bake for 20 minutes.  Then, add the fried onion rings on top for another 5-7 minutes.

Enjoy!


Family, Food

Stuffed Green Peppers

Sievers Stuffed Peppers

There is nothing better than getting that “hand me down” recipe passed on from generations.  This stuffed pepper recipe is compliments of my awesome mother in law, Nancy Sievers.  I’ve been making this recipe for over 12 years. Making recipes from your childhood brings back so many fond memories so we agreed to have some recipes from each side of the family. It has worked out great!

This recipe is another favorite in this household.  I love it and my kids love it. Do my kids eat the pepper?  No, except my 10 year old, Jack, who has a very sophisticated palate.  He loves everything. He may not eat the entire pepper but he will eat a lot of it.  Heck, the best part of this recipe is the stuffing anyway.

It’s super easy to make.  You can even make these peppers in advance…refridgerate or freeze.  One key to this recipe is the last 15 minutes of cook time…make sure you do not forget to uncover and let them get a little browned on top, without drying out of course.

Ingredients:

  • 4 Large Green Peppers (prefer 4 lobes)
  • 2 Cups of Boiling Salt Water
  • 1 Can Tomato Sauce (8 ounces)
  • 1/2 Pound of Ground Beef
  • 3/4 Cup of Rice
  • 1 Teaspoon of Salt
  • 1/4 Teaspoon of Pepper
  • 1 Tablespoon or more of Chopped Onion
  • Dash of Crush Red Pepper (optional)

Directions:

  1. Heat oven to 350 degrees.
  2. Cut a thin circular slice from the stem of each pepper.  Wash inside and out, removing all seeds and membranes.
  3. Cook peppers in boiling water for 5 minutes.  Drain and cool.
  4. Mix all the other ingredients together in a large bowl.
  5. Stuff Peppers lightly with the meat mixture.  Stand upright in a baking dish.
  6. Cover and bake 45 minutes. Uncover peppers and bake another 15 minutes.

Stuffed peppers are not complete without ketchup!  I double this recipe every time I make it because it is so easy and we gobble it up every time.

Enjoy!

Stuffed Peppers Cooked