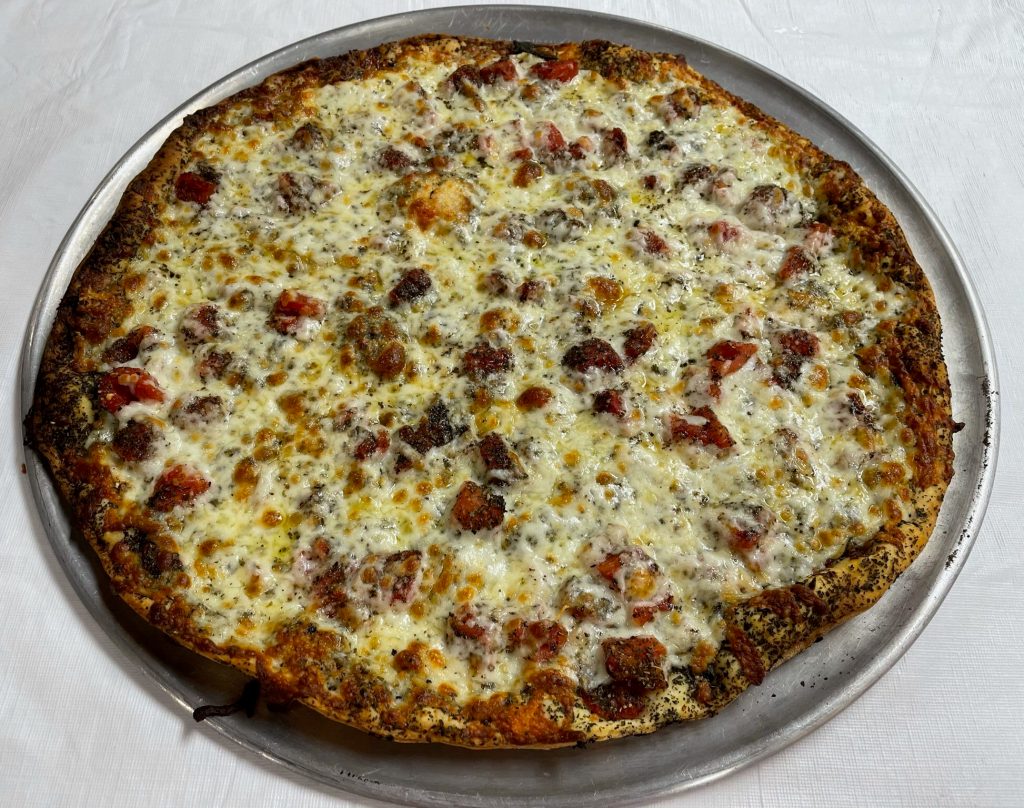
Most Fridays we order out for dinner. 85% of the time we order pizza. Uncle Leo’s in South County has quickly become our favorite take out pizza. They’re located right in the heart of South County on Lin Ferry Road in between Tesson Ferry and Lindbergh Blvd. I knew the pizza had to be good when I found out the pizza recipe came from Failoni’s located in Dogtown. I spent many Thursday and Fridays at Failoni’s, but I don’t think I ever had the pizza. Wow, it’s so good. No, it’s great!
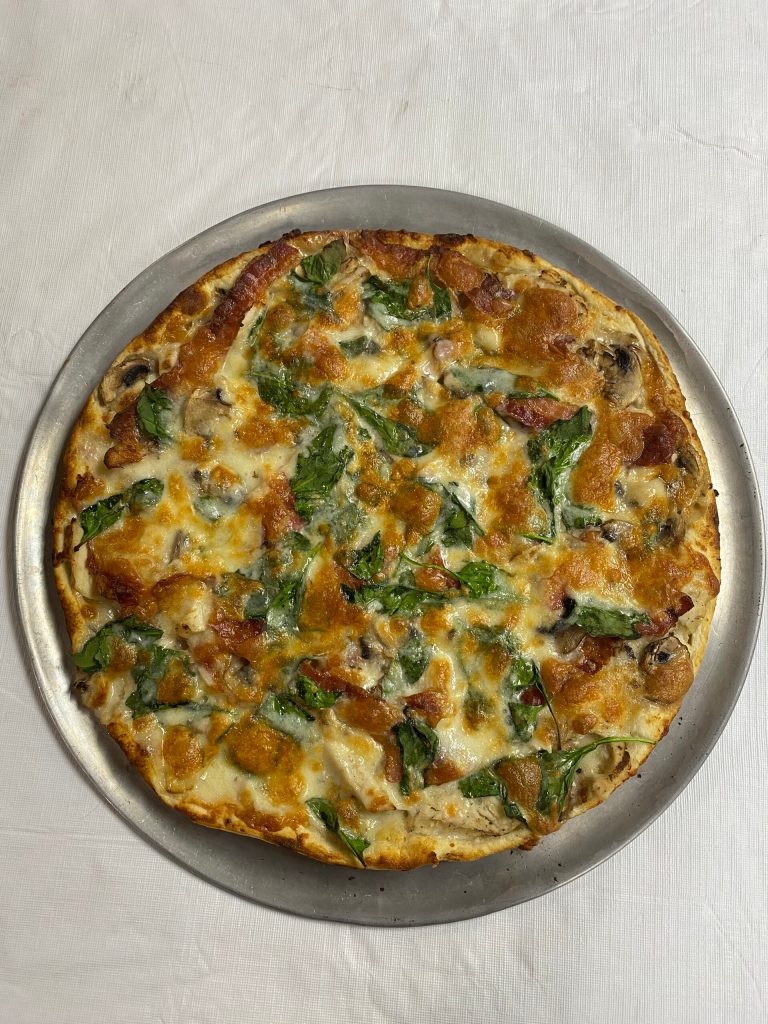
How awesome is it that they decided to bring their famous pizza recipe to South County. You can tell this pizza dough is made from scratch and the specialty pizzas that are offered are some of the best. Our top two favorites that we order are Mariann’s Margherita pizza and Joey’s Fav. Hand’s down, the Margherita pizza is the best I’ve had anywhere. Heck, even my kids love the Margherita pizza and they are meat lovers. If you like it a little spicy, you will love Joey’s Fav with jalapeno’s on it. Last time we ordered from Uncle Leo’s. we decided to try something new. We tried their Chicken Delight. It’s officially my new favorite. I will warn you on Fridays that the phone lines can get tied up and busy. Yes, that’s always a good sign. Keep calling back and you’ll get through. You might have a longer wait time for pick up on Friday along with a line out the door, but it’s well worth the wait. For those of you who have tried Uncle Leo’s you know what I’m talking about. For those who haven’t tried it, you’re missing out.

Uncle Leo’s Pizza – 9975 Lin Ferry Drive, St. Louis MO 63123
314-842-7155